Stimulate: Using National Gallery of Art Islamic Resources
Many AP students work more slowly after they absorb themselves in their Sustained Investigation for a few weeks. To energize them, give them a short, focused printmaking lesson using the National Gallery of Art's (NGA) Islamic Art and Culture Resource for Teachers. Your students will learn about and incorporate Islamic devices into their own work, producing a monoprint.
The NGA resource gives students an introduction to Islamic art. It has maps so students can visualize the past Islamic world. It provides students with a historical survey. Besides this, the NGA resource includes images of Islamic book art, objects, and architecture. This is an ideal starting point for students to incorporate historical perspective. They can discuss the post-modern world and at the same time investigate traditions of visual culture.
Overview of Islamic Art

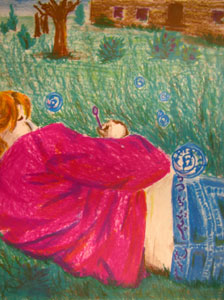
Student artwork incorporating calligraphic devices
The best way to give your students an overview of Islamic art is to present images from the NGA resource and introduce them to the key three devices used in Islamic art: arabesque (a pattern design incorporating leaves and flowers), calligraphy (the language of the geographic region in calligraphic form), and geometric design (repeated geometric shapes). Explain the origin and meanings of these visual devices within their cultural context.
Have your students research to find more examples and information about these three devices. Encourage students to think about how the form and meanings of these devices can connect to the form and ideas of one of their own art works or renderings from their sketchbook to create a new image. Connecting form and content from historical sources with their art-making can deepen students’ understanding of how ideas and imagery are related.
Creating a Print
Next, let your students create a print based on the image they made. They can do this easily and most effectively by following these steps:
- Transfer the image to a frosted piece of Mylar or Lexan-type plastic: Lay the plastic on the artwork.
- Use watercolor pencils to draw the image on the plastic.
- Use watercolor crayon to scrub color onto the plastic printing plate.
- Apply watercolor with a paintbrush for a lighter, different texture.

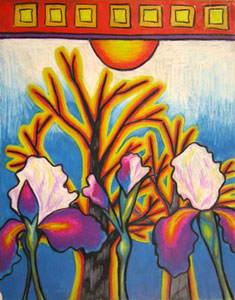
Islamic arabesque elements featured in student work
The beauty of this technique is that students are layering color. They are able to do this by combining a drawing technique with painting and color blending. They work on keeping a sense of light while keeping a strong focus on composition.
The next thing students should do is put the plastic plate through the printing press using damp BFK paper with sizing thoroughly rinsed out so the paper does not stick to the plate. The first print they pull out is very strong in value. The following prints are essentially very light ghosts. Usually, students can produce prints in 40 to 60 minutes.
This activity can span three to four days. In that time, your students will have broadened their worldview of art and produced a quality monoprint that connects their ideas and imagery with what they learned from their introduction to Islamic art.

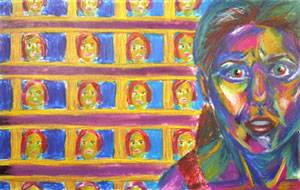
Repeated geometric design integrated with student's expressive portrait
Authored by
Flowerree Galetovic
Bearden High School
Knoxville, Tennessee